If you need to increase the disk size on a VirtualBox vm, you will need to use VBoxManage via CMD line. Currently the GUI VBoxManager doesn’t have the functionality to increase disk. VirualBox’s documentation does make it seem like this will be added in a future release. The documentation states ” VBoxManage is the command-line interface to VirtualBox. With it, you can completely control VirtualBox from the command line of your host operating system. VBoxManage supports all the features that the graphical user interface gives you access to, but it supports a lot more than that. It exposes really all the features of the virtualization engine, even those that cannot (yet) be accessed from the GUI.” VBoxManageDoc
I needed to increase my Ubuntu VM’s disk from 10GB to around 40GB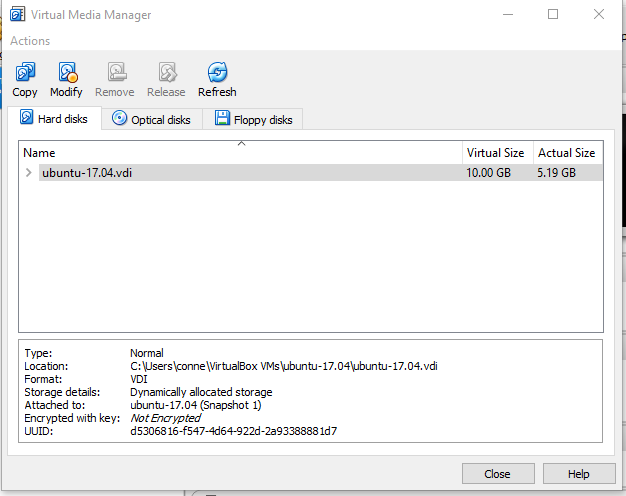
The easiest way to locate the location of your VDI is in VirtualBoxManager. Select the VM, go to settings, storage, then VDI location. Copy the location to paste into the CMD line for the next step.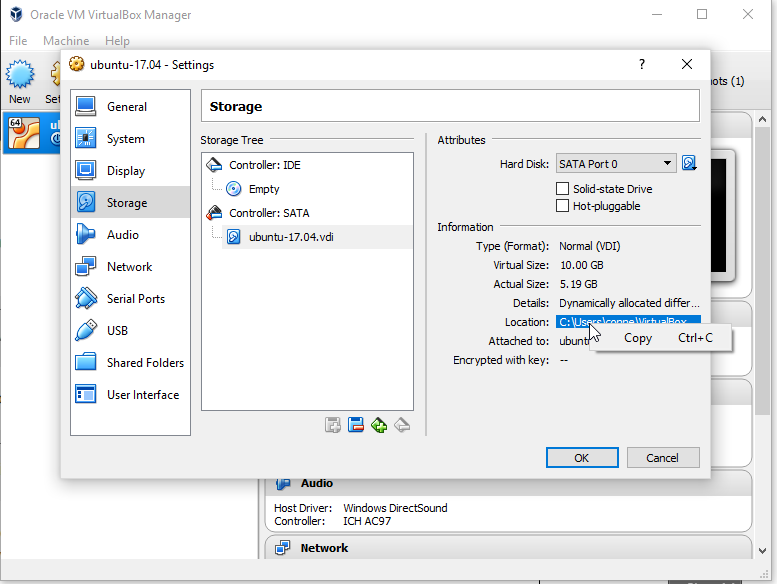
Open the CMD prompt and navigate to VBoxManage. The default location is “C:\Program Files\Oracle\VirtualBox”
Type the command below, but change the path to your VDI location and the size you want in MB.
VBoxManage modifyhd “C:\Users\conne\VirtualBox VMs\ubuntu-17.04\ubuntu-17.04.vdi” –resize 40000
VBoxManage modifyhd "C:\Users\conne\VirtualBox VMs\ubuntu-17.04\ubuntu-7.04.vdi"<span data-mce-type="bookmark" id="mce_SELREST_start" data-mce-style="overflow:hidden;line-height:0" style="overflow:hidden;line-height:0" ></span>--resize 40000

Your VDI should now be the size you specified.
Now we can check to see the new VDI size.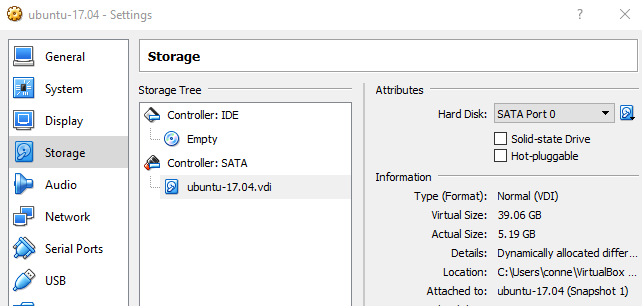
That’s it. Easy but not straightforward if you didn’t know to use VBoxManage. Hopefully Oracle will add this functionality to the GUI in a future release.
Keep in mind you will still need to extend the Ubuntu disk volume, or create a new partition to be able to use the space you just added.
